Table of Contents
You’re here for one reason and one reason only, how to clean your carburetor. We will go through and show you the style and method, along with the tools for this how-to. This applies to most carburetors and will never be exactly the same for every type. Let’s dive right in and get your carb clean!
What do you need?
Here is a quick list of what you will most likely need to complete this task. This will include parts and tools. All these tools will depend on the type of carburetor you have. Also, keep in mind that you can use any type of parts cleaner or carburetor cleaning tool. We have just listed our favorites!
- Allen Keys
- Phillips Screw Driver
- Flat Head Screw Driver
- Needle Nose Pliers
- Carburetor Gaskets
- Main Jets & Slow Jets
- Carburetor Cleaning Tool
- Parts Cleaner Spray

Preparation
- Before you start, remember to take notes or pictures so you can remember where everything goes.
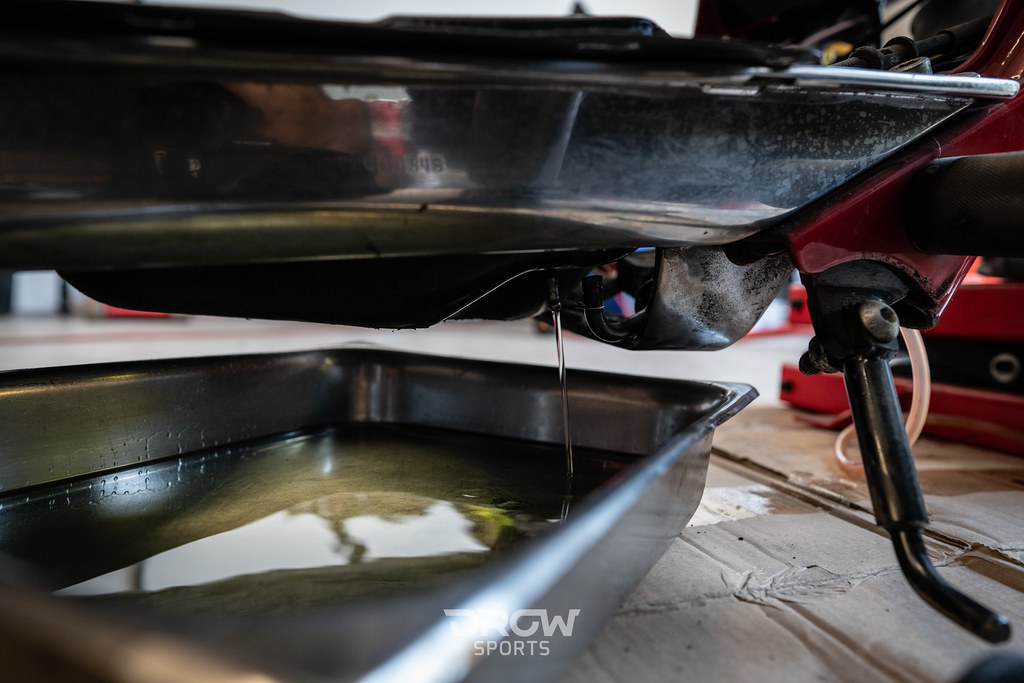
- Be sure to drain your gas tank of any old gas that you have.
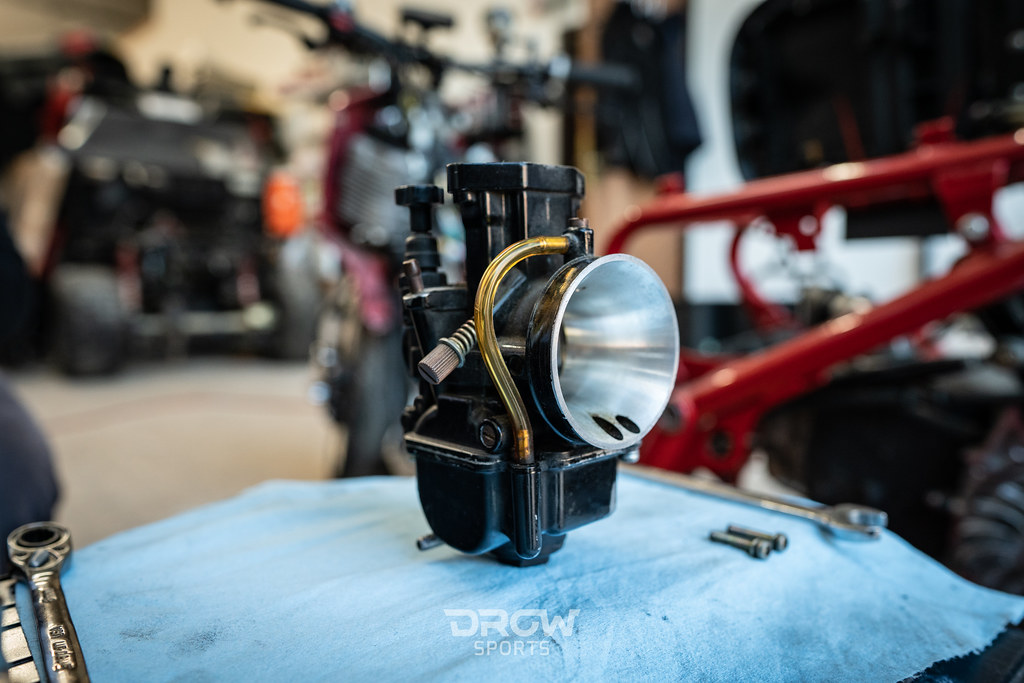
- Start by removing the carburetor from your engine.
- Be sure to drain the float bowl and if you did not drain your gas tank cap off the fuel line.
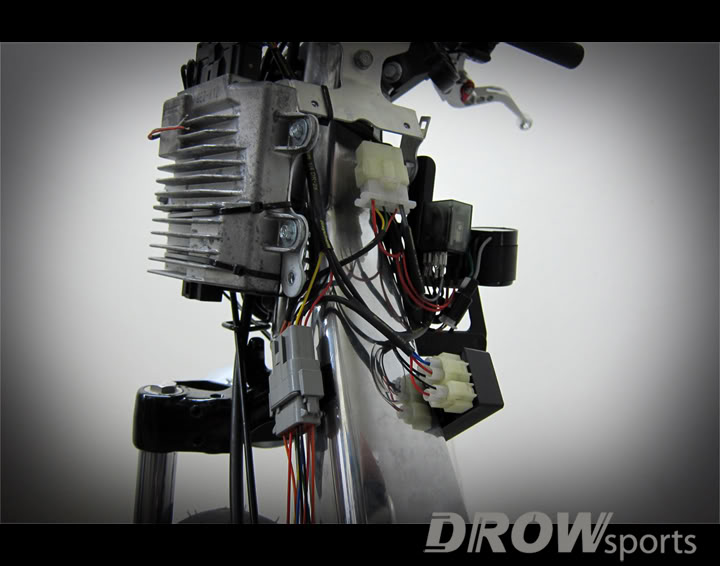
- Disconnect any sensors or vacuum lines and move them out of the way.
- Remove the air filter whether it be a pod filter or intake box.
- The carburetor should now come out freely, be sure to note where each hose and sensor plugs into.
Disassembly
We recommend starting out by laying out a shop towel or rag to work over. This will also serve as a place to lay down your parts without losing them.

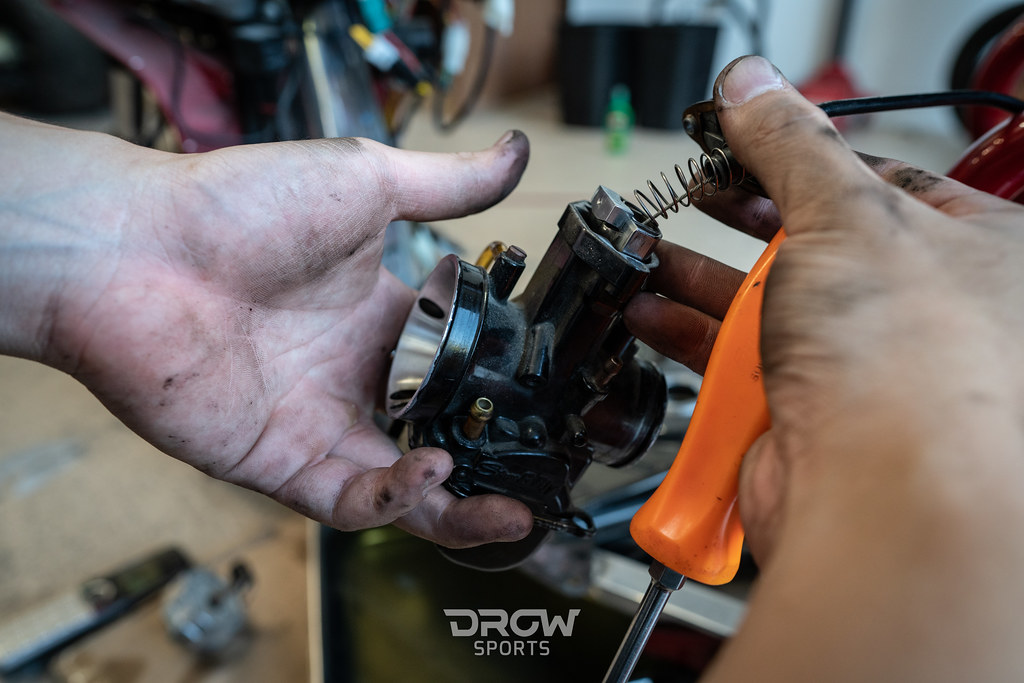
At the top of most carburetors will be the slide where the throttle cable goes down. Depending on the type of carburetor, you might have a twist off top or bolts holding it down. Remove that and take out the slide including the spring and needle. Take a note of how this went together when you take it apart. Be sure to lay out each part to the side so you do not lose them.
Unscrew the float bowl, this is the bottom of the carburetor that holds all the fuel. Be sure to inspect the gaskets along the way for damage. Although you can most likely reuse this, we highly recommend replacing it when possible.

The exposed portion at the bottom will typically show the float, float valve, main jet, and slow jet. This is where things get fun. Take out all the jets and float, be sure not to lose any of these small parts. Lay them out to get ready for cleaning. Be as careful as possible when doing this, each part is designed for precision. Damaged parts will need to be replaced.

Cleaning
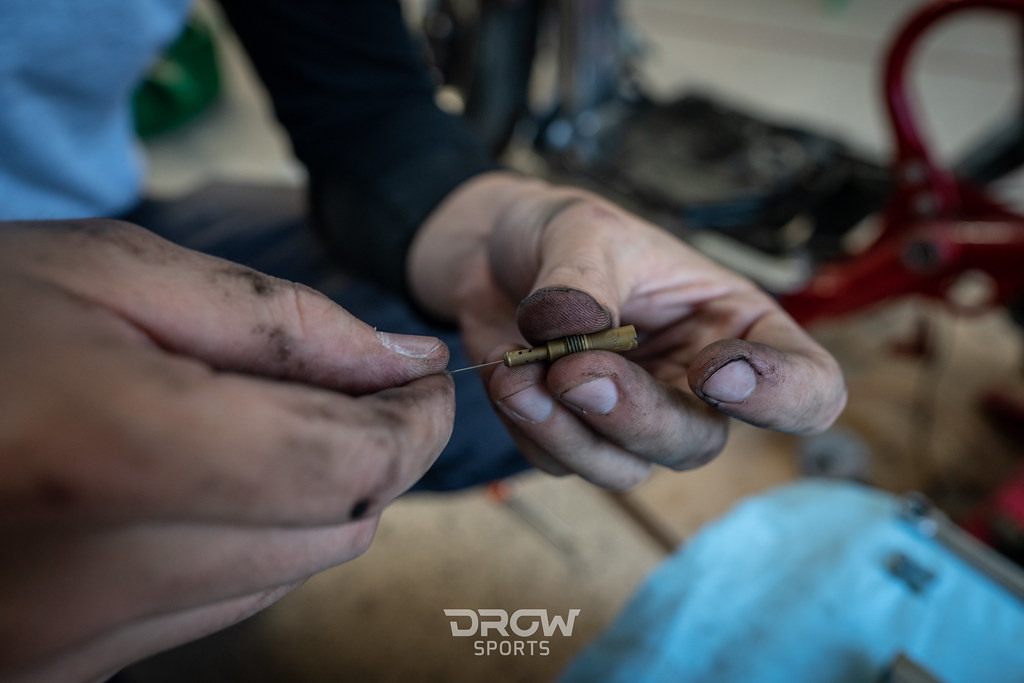
Now that all the parts are out, start by cleaning each of the individual jets. There are a few different ways you can do this. Spray some parts cleaner in the jets to try to loosen up the gunk. We recommend using a carburetor cleaning toolset to make it easier. Don’t be too rough, these jets have very small holes.
The carburetor has many different paths and holes for maintaining vacuum and flow. Saturate the inside of the carburetor to clean out all the orifices.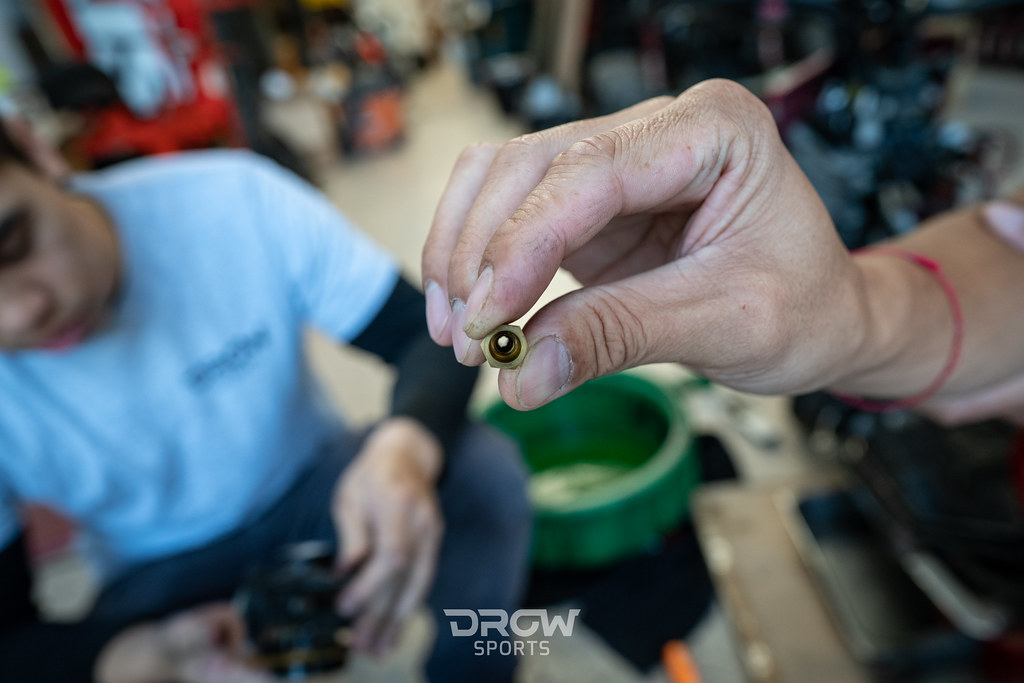
Remember, be gentle and thorough when cleaning. Damaging the carburetor itself might require you to purchase a new one.