Installing NCY CDI
After the Polini Variator upgrade, we always recommend installing a CDI as the next performance upgrade. The NCY Ruckus CDI will completely remove the factory redline of 8900 rpm to unlimited and it also adds a little more timing to boost performance. Even though is CDI install is straightforward, there are many ways it can be install and still work. We at DROWsports don’t like to cut into the factory wire harness, and we always try to use solder when possible when dealing with electrical components. If you have any questions about the install, please shoot us an email at [email protected] or call (562)997-3949.
Part# 0900-1076
Buy Now: NCY Ruckus No-Rev Limit CDI
Installation Time: 0.5-1.5 Hours
Tools Needed:
- Phillips Screw Driver
- Wire Stripper & Crimper
- 10mm & 12mm Socket and Ratchet
- Multimeter
- Pick
- Solder Gun
- Solder
Instructions
1. Remove the Rear Battery Box Cover and entire plastic floorboard of the Ruckus to get access to the Ignition Coil and wiring inside the battery box.

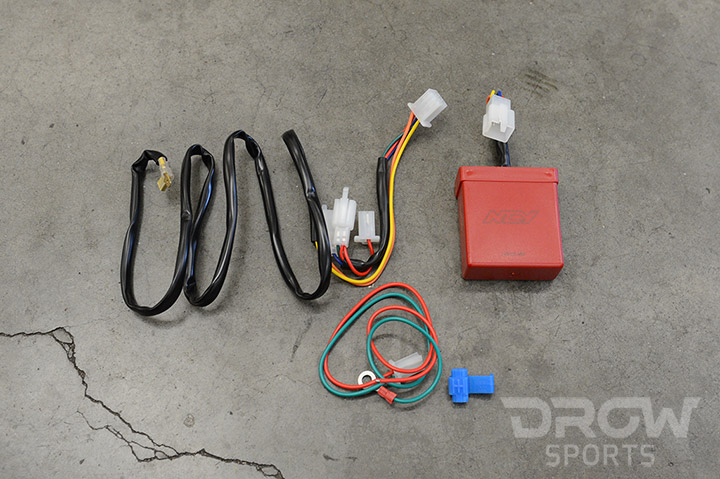
NCY Ruckus CDI Harness Detail
2 Lay out your NCY Ruckus CDI unit with harness and identify the power (red), ground (green), ignition coil plug (yellow and orange) (fig. 2)
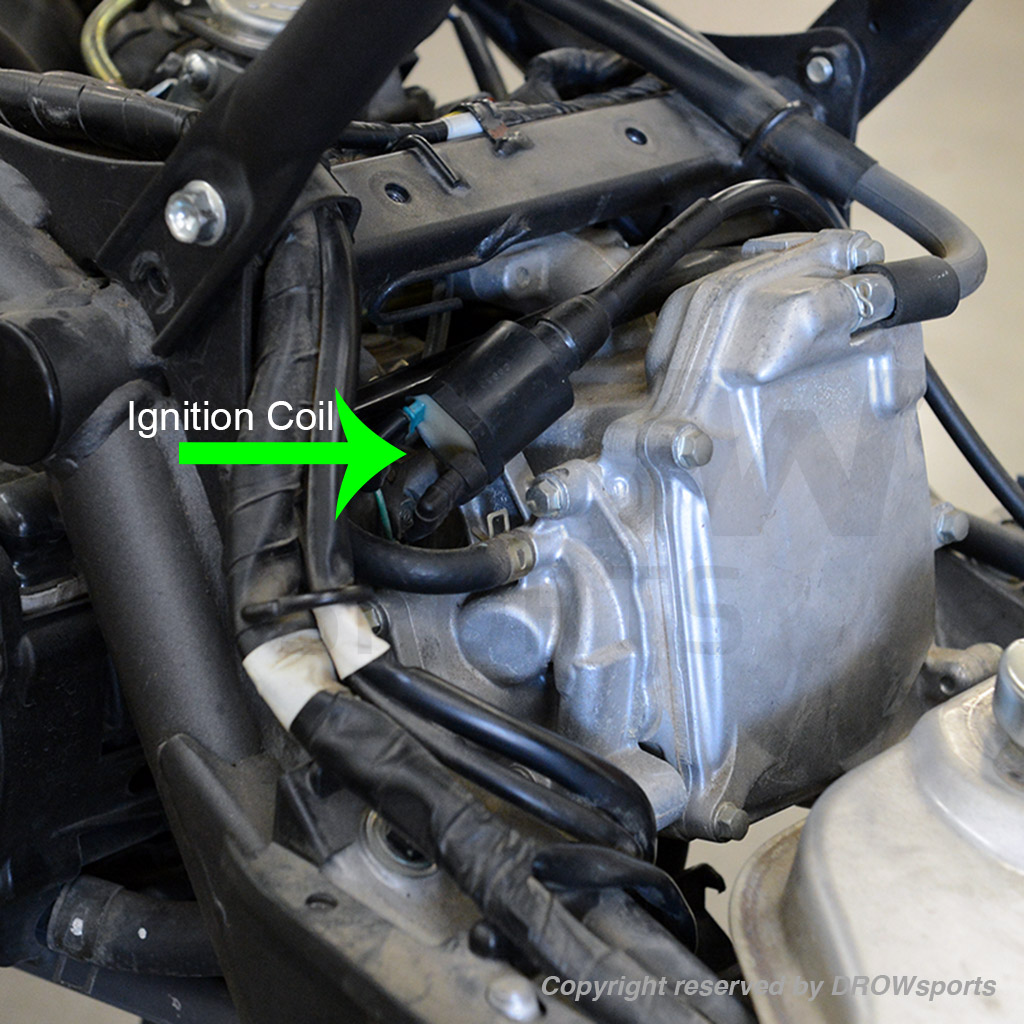
Honda Ruckus Ignition Coil
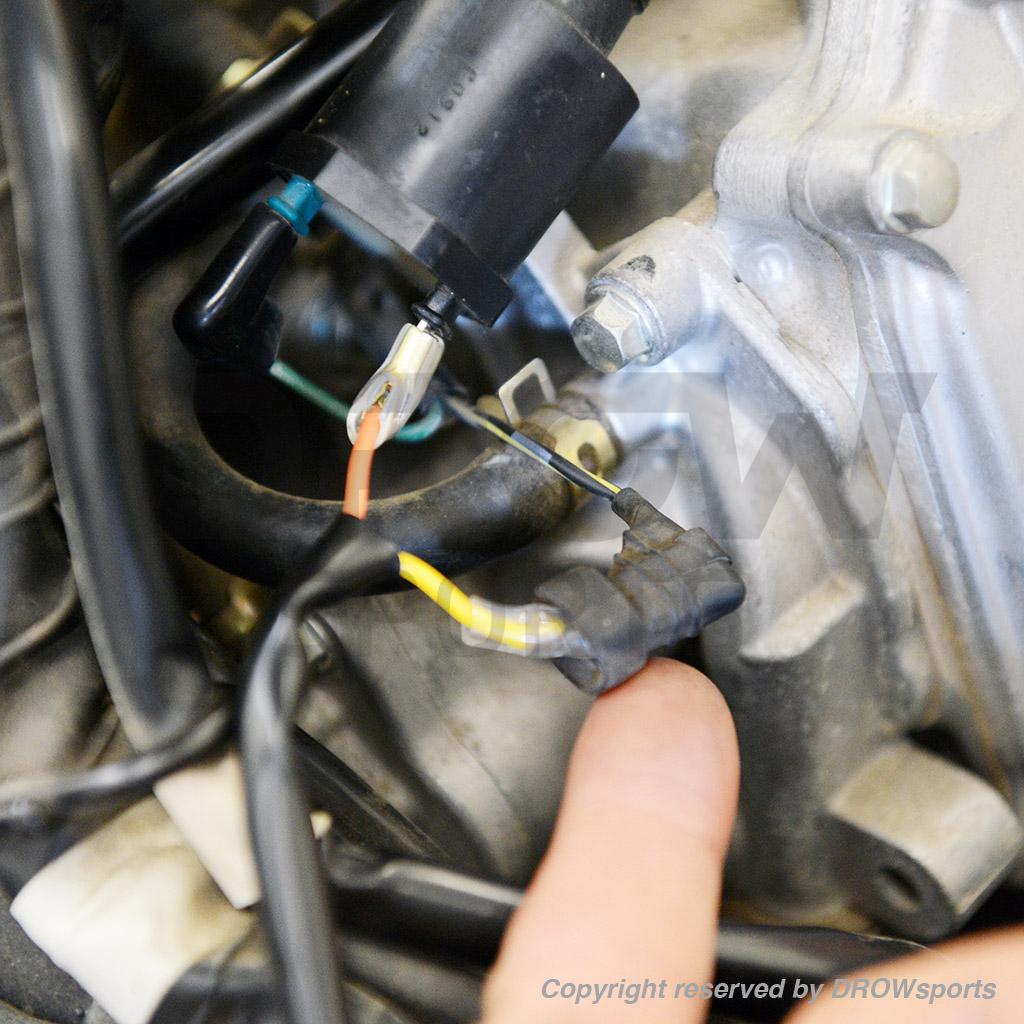
NCY CDI Harness Plug into Ruckus Ignition Coil
3. Locate the Honda Ruckus Ignition Coil on the right side of the ruckus cylinder head.
4. Unplug the black/yellow wire on the ruckus coil and plug the NCY Harness yellow wire to the ruckus black/yellow wire. Plug the orange NCY Harness to the Ruckus Coil.
5. Tuck the NCY Harness into the side of the frame underneath the gas tank
6. Locate the two Ruckus relay above the battery. Depending on how comfortable you are in wiring we recommend the next couple steps for more (A) for an Advance installer and (B) for Novice.
7. (A) Remove the relay with Red/Green, Red and Red/Black Power wire connected.
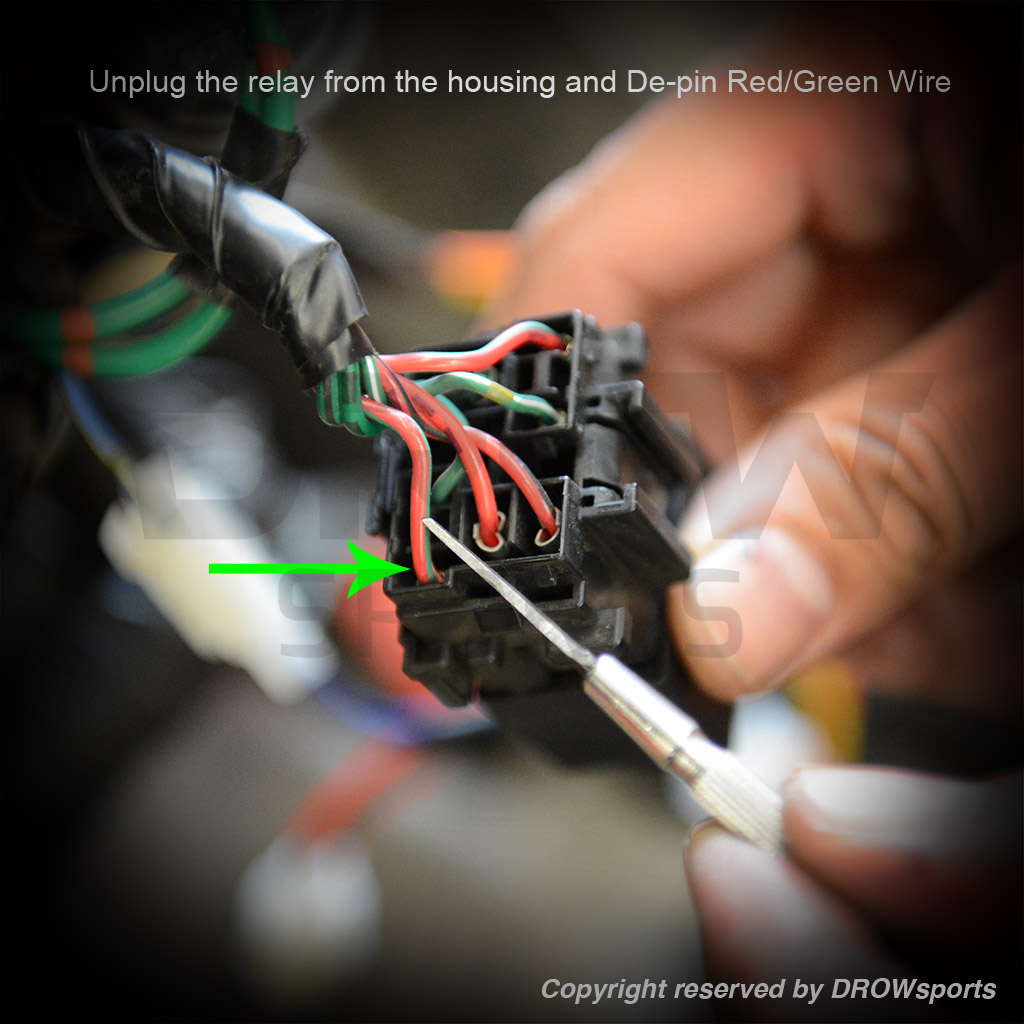
Red/Green Ignition Power wire from relay
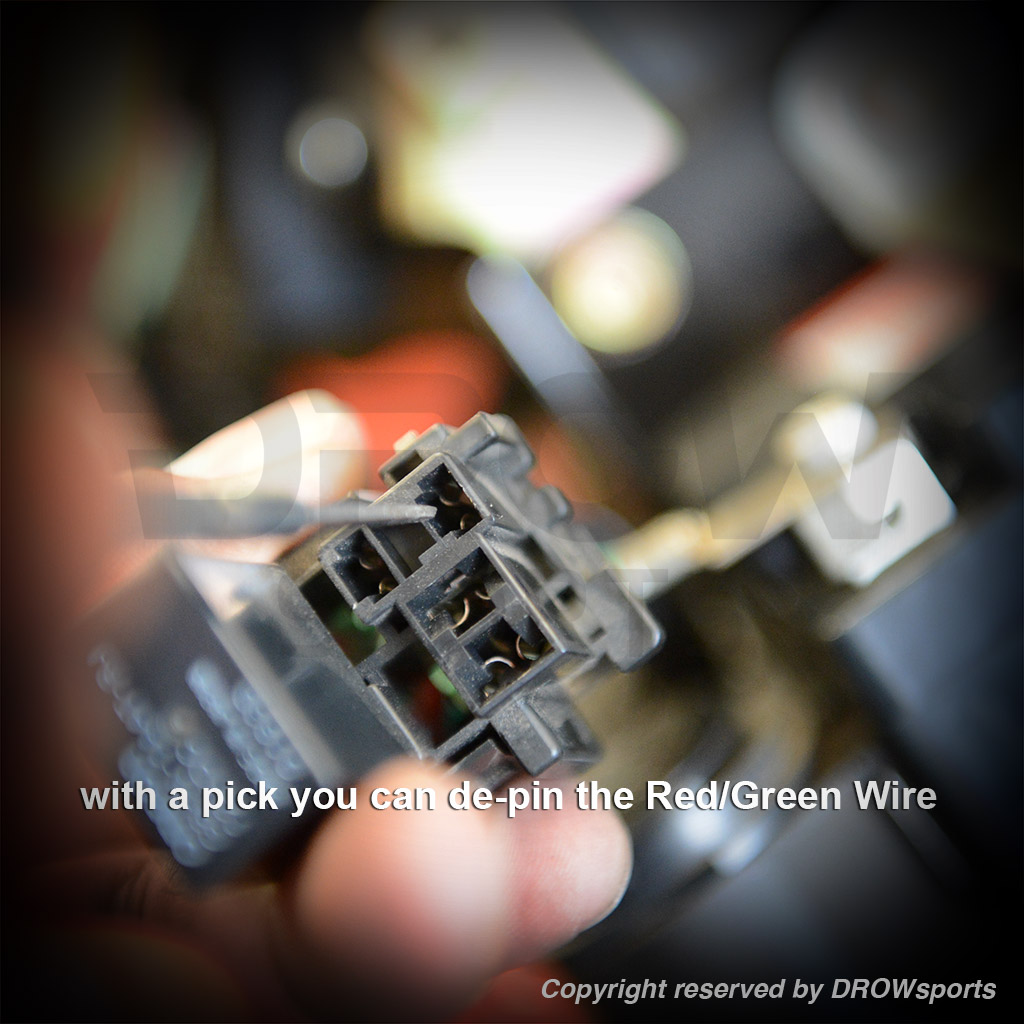
using a pick or small screwdriver, de-pin the power wire for soldering
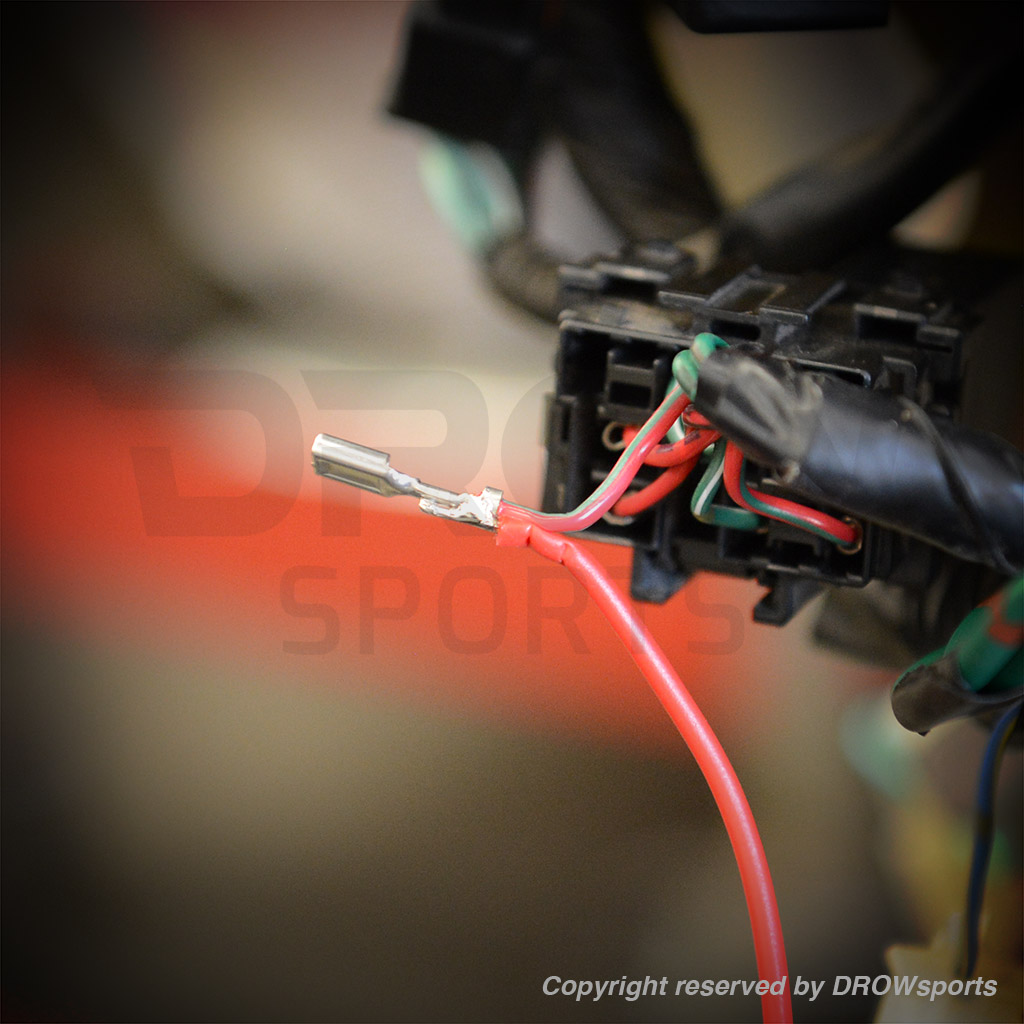
8. (A&B) Locate the Red/Green Power Wire and using a Multimeter to double check to make sure you have power only when the key is turn to the on position.
9. (A) De-pin the wire using a small pick or flat head screwdriver.
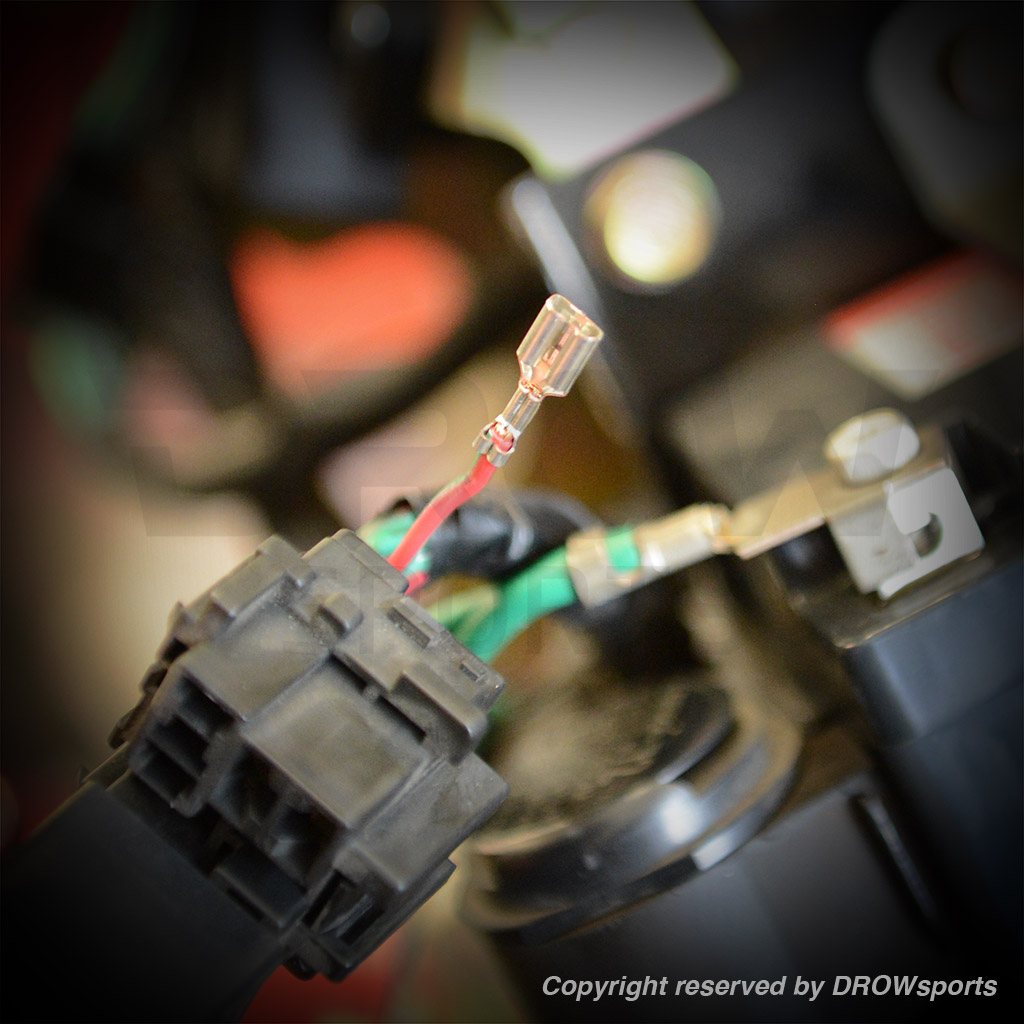
with the power wire remove, solder on the power wire from the NCY CDI Harness.
NCY CDI Power wire Solder onto Ruckus Ignition Power Wire
10. (A&B) Connect the NCY harness Red power wire to the Ruckus harness Red/Green power wire by soldering our using the supplied blue quick connector.

Plug power wire back in relay housing
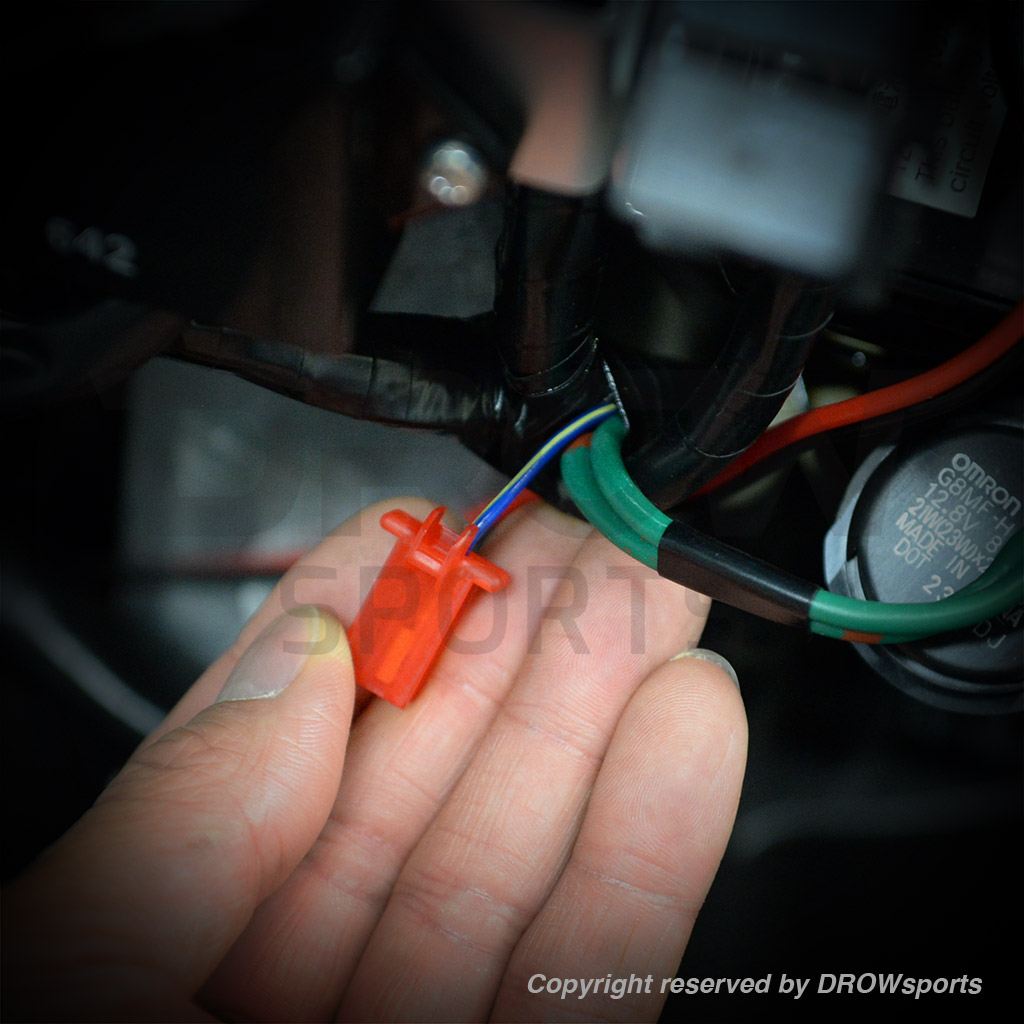
honda ruckus rpm signal source blue/yellow wire
11. Locate and plug in the Ruckus BLUE/YELLOW single wire/two pins male connector into the NCY BLUE wire, two pins female connector. (connector can sometimes but red or white depending on the year of the Ruckus.)

zip tie the CDI box on to a secure spot and connect the green ground NCY wire on the negative on the battery post
12. Find a secure spot to zip tie the NCY CDI Box.
13. Zip-tie the NCY CDI Unit onto the Ruckus harness. Connect the GREEN NCY ground wire to the negative post on the battery.
14. Before you re-install the battery box and floorboard, start the bike up and go for a test ride to make sure it runs. Tuck the NCY Harness into the side of the frame underneath the gas tank